Use of variables & dynamic content in Azure Workbooks
Within large Azure workbooks (dashboards), we want to be dynamic and allow users to specify their own parameters. This enables a more precise evaluation based on e.g. time period, resources and much more.
Create Azure Workbook
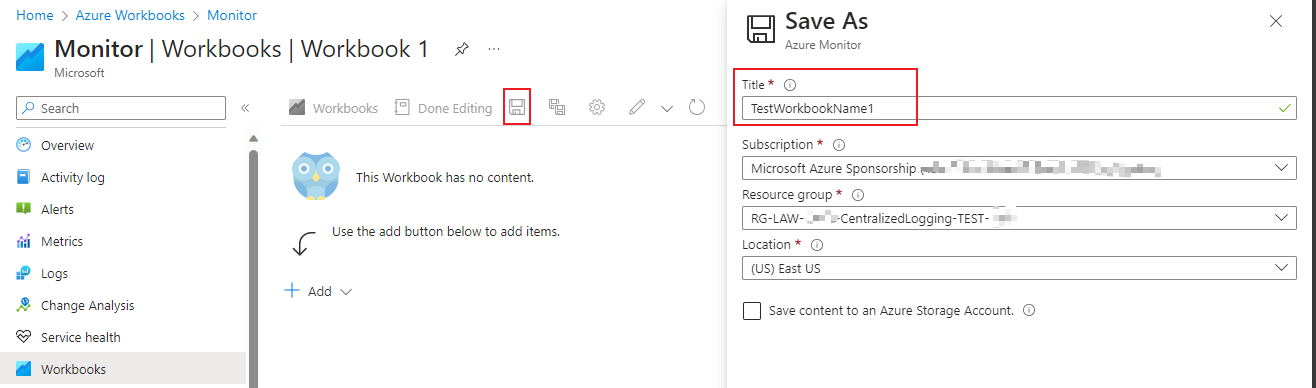
Search in Azure Portal for "Azure Workbooks" and create a new Workbook. It is recommended to save the workbook beforehand. For this step click on the save icon and set the name you want. Then choose the subscription and resource group parameters. in the end you have to specify a location.
Create first data visualization
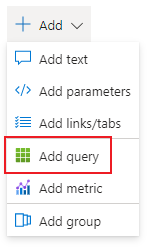
Inside the newly created we can start the first query. Click "Add" and choose "Add query".
Inside this query you have to specify the workspace as this is the source for the queries (your log analytics workspace or storage account of choice). Set the parameter "Time Range" to the value "Set in query" thus we will set this dynamically using Workbook parameters.
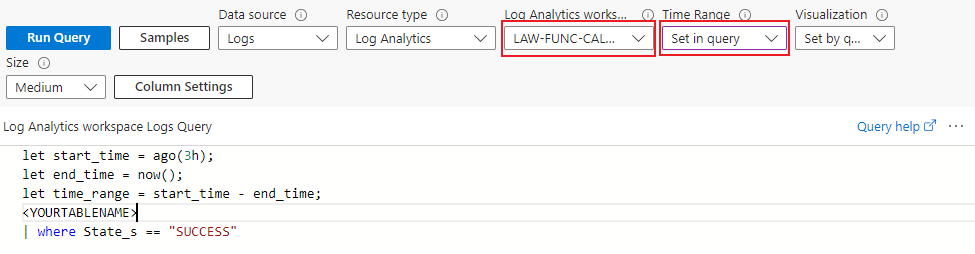
Write your log query in KQL so that the output meets your expectations. AI Chatbots can be a big help for writing queries.
Add dynamic parameters
To display charts and tables based on the parameters we set, we can use the so-called "Parameter" functionality of Azure Workbooks.
First we have to create a parameter set. Click "Add" and choose "Add parameters":
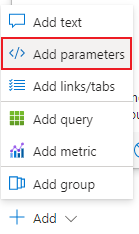
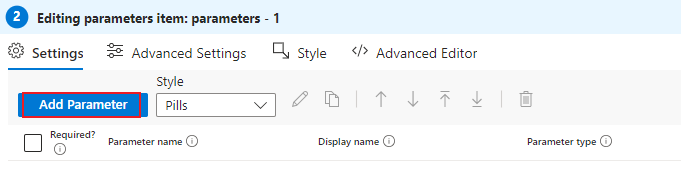
Click "Add Parameter":
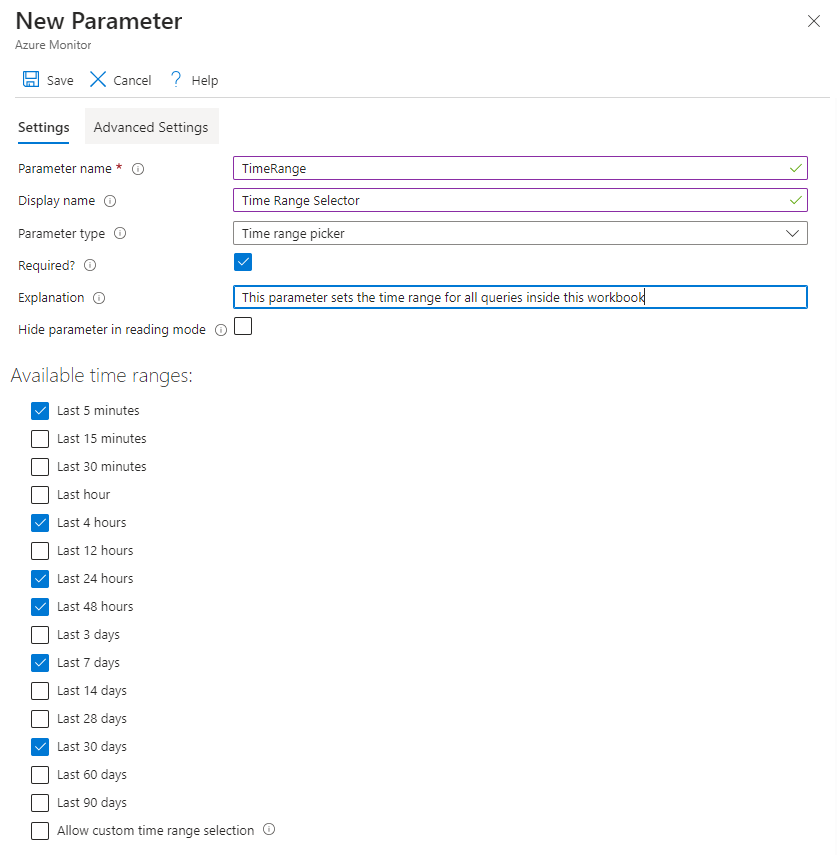
Fill out the form based on your needs:
Use of dynamic parameters
After we have created a dynamic parameter, we can use the values inside our KQL queries. The use is different based on the selected data type of the parameter.
Using the "Previews" pane on the editing page of the parameter we can select values and see their according value.
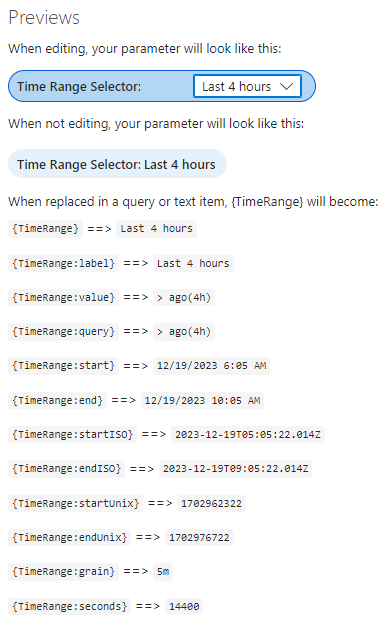
So we can work with these variables inside our queries and update our query from before. This enables us to display the events based on the selected value of the parameter:
let start_time = {TimeRange:value};
let end_time = now();
let time_range = start_time - end_time;
<YOURTABLENAME>
| where State_s == "SUCCESS"
This will replace {TimeRange:value} with the value "ago(24h)" when the selection is the following:
