OAuth SSO in CLI using Gitlab Application
Prerequisites: You must have a finished Gitlab installation. And have configured OAuth according to these instructions: Microsoft Entra ID SSO... | LNC DOCS (lucanoahcaprez.ch). Administrator access to the web interface should be available.
This guide shows you how to configure a client installation of GIT so that you are automatically logged in using OAuth. This allows you to use the identity provider registered in Gitlab and take advantage of all the benefits of a centralized authentication solution and single sign-on.
Once GIT has been installed and finally configured (follow these instructions), you will be asked for your credentials when performing a private action in Gitlab. The GIT installation on your Windows / MacOS will redirect you to the website where you can log in as usual. The access token is then forwarded back to GIT together with the refresh token. These values are stored in the Credential Manager of the operating system.
Create Gitlab Application
An application must be created in Gitlab so that the GIT installation knows which authorizations and accesses must be requested by Gitlab. This is used for the authentication flow.
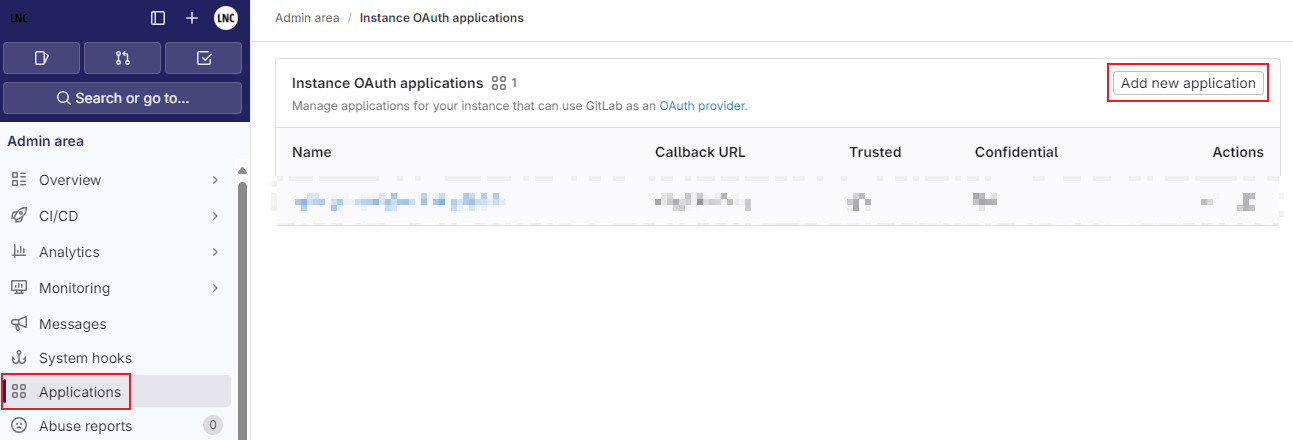
- Sign into Gitlab with the administrator account and navigate to the admin area (https://gitlab.yourdomain.com/admin).
- Navigate to "Applications" and click "Add new application"
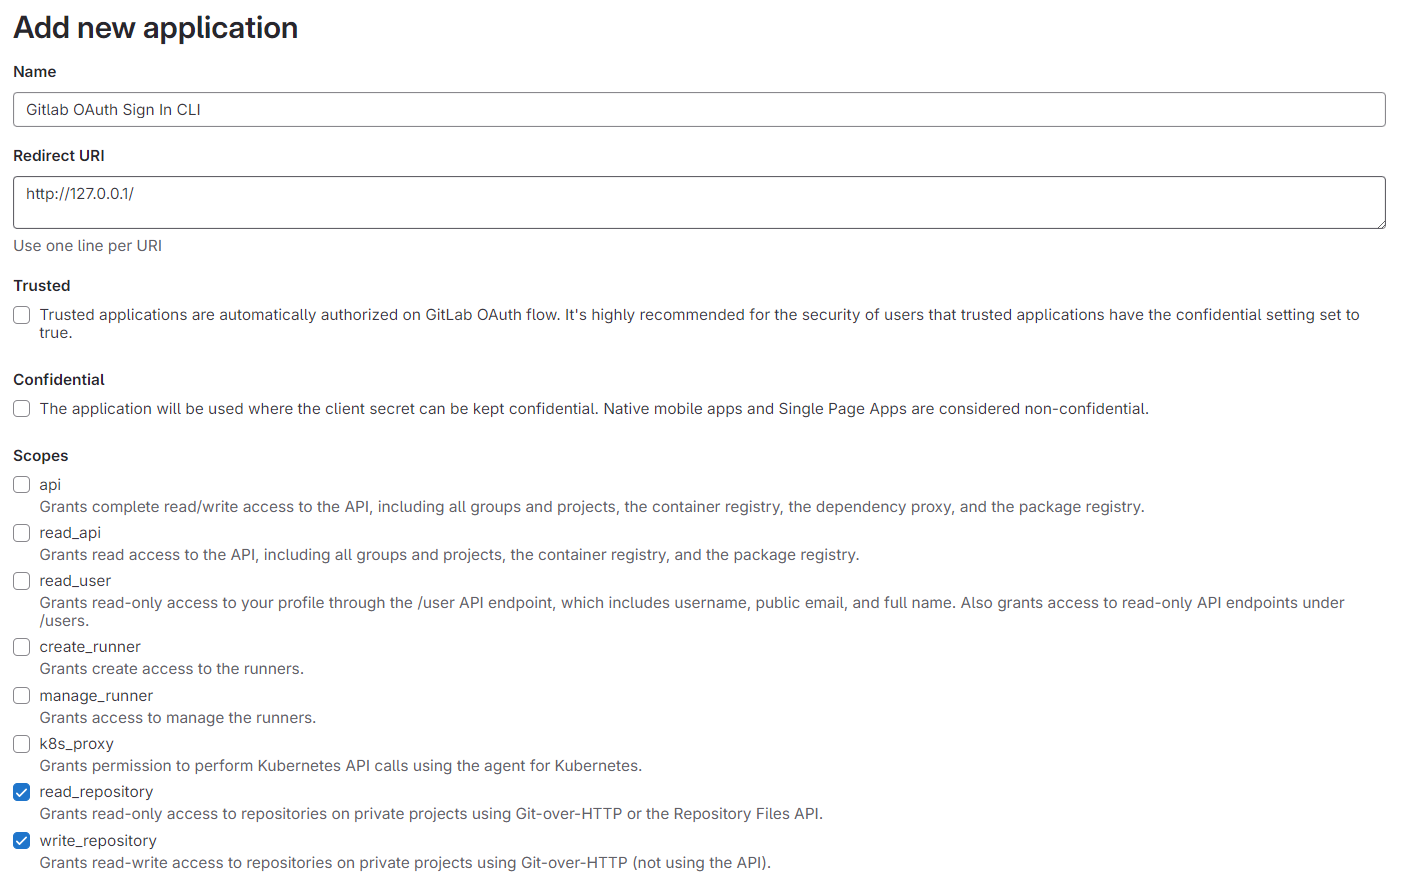
- Enter a display name for your Application (e.g. "Gitlab OAuth Sign In CLI")
- Under "Redirect URI" enter "http://127.0.0.1/"
- Uncheck "Confidential"
- Grant permission scopes to "read_repository" & "write_repository"
- Click "Save application"
On the following page, copy the Application ID and the Secret value and save them in your Password Manager. Attention: You only see the secret value once and cannot view it again. It therefore makes sense to save it in a safe place.
Edit local GIT configuration
This step must be performed on every device that should authenticate to Gitlab using OAuth. In addition, GIT must be installed and set up. You can find instructions here: Installation and confi... | LNC DOCS (lucanoahcaprez.ch)
In the following configuration statements, replace “<yourgitlaburl>” with your effective Gitlab instance and replace the values for Client ID and Client Secret.
git config credential.helper store
git config --global credential.https://<yourgitlaburl>.gitLabDevClientId <yourclientid>
git config --global credential.https://<yourgitlaburl>.gitLabDevClientSecret <yourclientsecret>
git config --global credential.https://<yourgitlaburl>.gitLabAuthModes browser
git config --global credential.https://<yourgitlaburl>.provider gitlab
git config --global --get-urlmatch credential https://<yourgitlaburl>
Your local GIT installation is then configured correctly and you can run a first test.
Check whether configuration was successful
To check whether the configurations were successful, the local credentials may have to be cleaned up first. Proceed as follows: Clear current GIT cred... | LNC DOCS (lucanoahcaprez.ch)
As soon as the Credential Manager is empty and you perform a GIT action that requires authentication, the following window will appear (for example, git clone <urltorepository>):
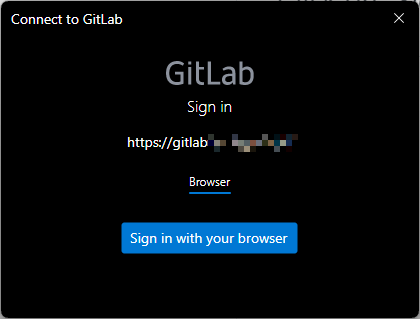
Click on “Sign in with your browser” and log in with OAuth on the website that opens. If you are logging in with a user via the CLI for the first time, the following prompt appears, which must be confirmed. Otherwise you will be redirected and can close the browser.

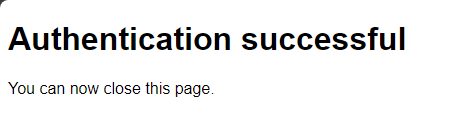
This message means that the login to the CLI was successful and you can close the browser.