Create Runbook Job via Azure Management API
To create a Runbook Job you can use the Azure Management API in combination with the webhook feature from Azure Runbooks. This makes sure that you can execute a script with given parameters in a safe location (credential handling, reliability, on premise access and more).
Use case
To use the runbook to execute PowerShell code on a backend, you can create a Job from the client code with corresponding input values. Even if you want to get some information back from the Runbook, you can wait on the client side code for the response of the Runbook Job.
Example: Based on a UPN of a logged in user the language of his device should be set. In order to match the UPN in the database and get a predefined language, an Azure Runbook should be called by the client and return the language. This ensures that the credentials and network access to the database are stored securely.
Create webhook URL
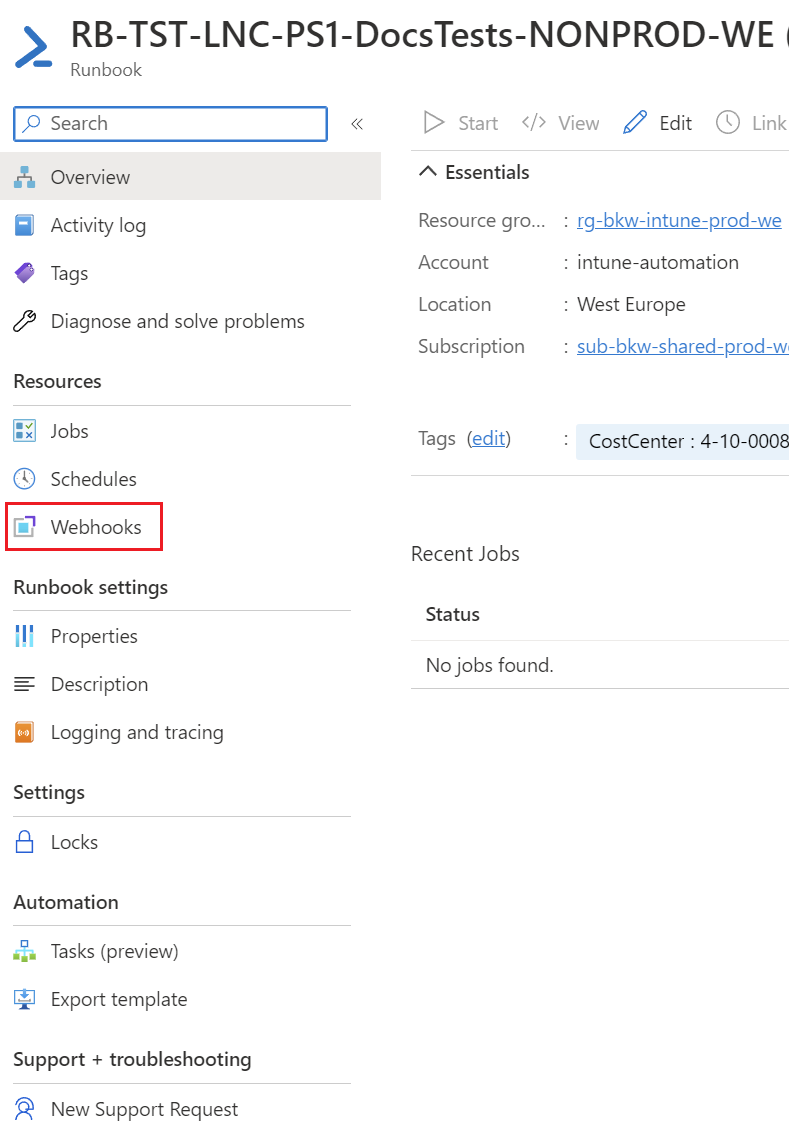
To create a webhook you have to open the Runbook and go to "Webhooks":
There you can create a new webhook and enter the name of the webhook, expiration date and you can view the URL. In addition, you can specify here where the runbook should be executed, whether in Azure itself or on a Hybrid Worker.
Attention: The URL is shown only once and should therefore be copied out.
Authentication to Azure Management API
The authorization against the Azure Management API can be solved via an app registration. For this you have to create an App Registration with the following permission:
Delegated: user_impersonation
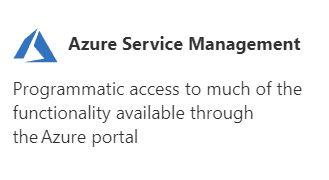
This permission can be added through the "Azure Service Management":
After that you have to use the access control blade of your Automation Account. There you have to grant the "Automation Job Operator" role to the App Registration. This process needs at least the "Application Administrator" role.
Then you can use the same header as for the Graph API as documented here: Create access token | LNC Docs (lucanoahcaprez.ch)
Create Runbook Job via PowerShell script
To create a Runbook Job you have to first use the Webhook feature. Then for getting the Jobs output, you have to wait until the Runbook is with the state "Succeeded".
$subscriptionid = "<yoursubscriptionid>"
$resourcegroupname = "<yourresourcegroupname>"
$automationaccountname = "<yourautomationaccountname>"

# Create Runbook Job
$webhookurl = "<yourwebhookurl>"
$Body = @"
{
    "email":"$Email"
}
"@
$JobId = Invoke-RestMethod -Method POST -Uri $webhookurl -Body $Body
$JobId = $JobId.JobIds

$whilecounter = 1


# Get Runbook job output
$url = "https://management.azure.com/subscriptions/$Subscriptionid/resourceGroups/$resourcegroupname/providers/Microsoft.Automation/automationAccounts/$automationaccountname/jobs/$JobId/?api-version=2019-06-01"
$Response = Invoke-Restmethod -uri $url -Method GET -Headers $Headers
# print out current state of Runbook Job
$response.properties.provisioningstate
while($response.properties.provisioningstate -ne "Succeeded"){
    Start-Sleep 15
    $Response = Invoke-Restmethod -uri $url -Method GET -Headers $Headers
    $response.properties.provisioningstate
    if($whilecounter -le 10){
        $whilecounter ++
    }
    else{
        Write-Error "Get job output from Runbook failed. Exiting Script."
        Exit 1
    }
}

$RunbookJobOutput = Invoke-Restmethod -uri $url -Method GET -Headers $Headers


