Installation & Setup
Things to consider
Here are some tips and tricks for you to learn from my mistakes in setting up a flutter environment. These mistakes are sometimes tedious to fix.
Feature or version conflict
This error comes into play if you have some error while running the "flutter run" command. The error message tells something like "language feature is disabled for this library".
This means that there is usually a version conflict. Here the version of the package in the file "pubspec.yaml" must be checked first.
Otherwise the dependencies can also be lifted with "flutter upgrade" to the newest version.
If running the app still causes errors, clearing the cache can help.
Dependencies can be deleted and cleaned up using "flutter clean". These are then reinstalled with "flutter run".
Installation process for Windows
This guide is for setting up a Flutter environment to test mobile applications with Android Studio. This guide uses Visual Studio Code with the Flutter extension.
Install Flutter SDK
- Download the source code for flutter: Windows install | Flutter
- Extract the .zip file in a persistant location (e.g. C:\src\flutter).
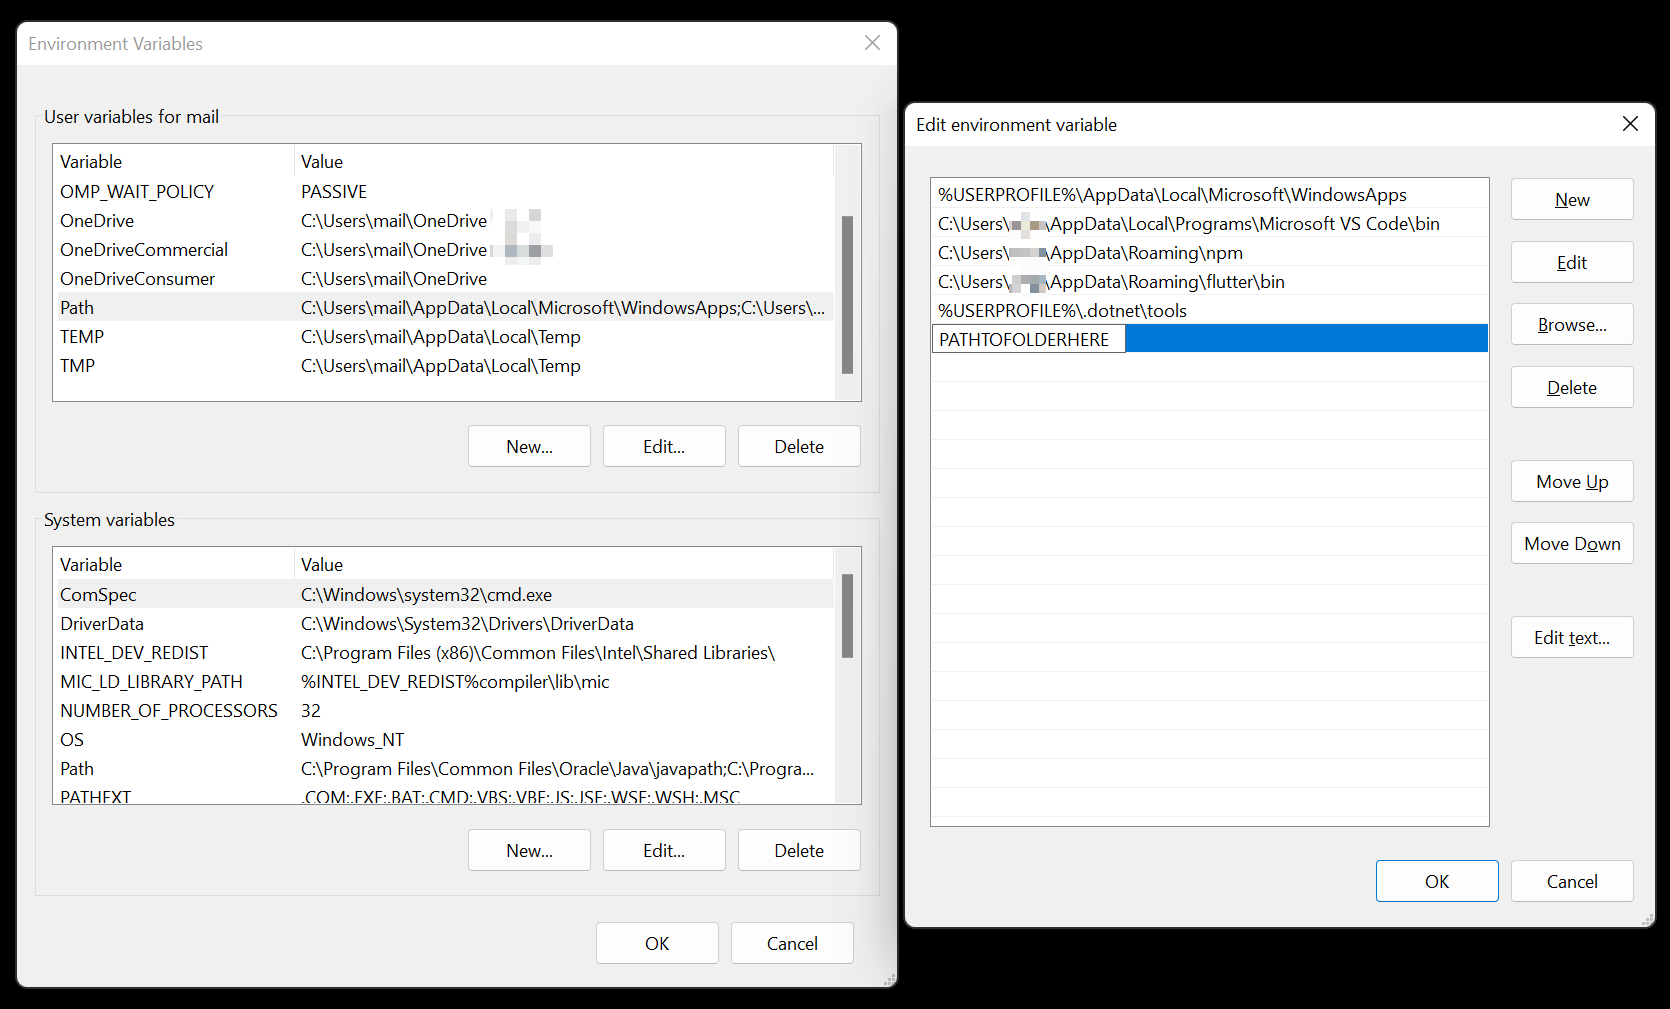
- Create new environment variable entry with the path to flutter\bin folder.
- Open "Edit the system environment variables".
- Click on "Environment Variables".
- Add new entry to "PATH" Variable:
Test installation
- Open new Terminal window.
- Type "flutter -v".
If this returns an error you have to search specifically for the message. Otherwise you have completed the installation successfully.
Install Android Studio
To install Android Studio you can use the winget CLI tool. Just copy the following command into a terminal session.
winget install --id=Google.AndroidStudio -eAfter the installation was successful you find "Android Studio" as a new App in start menu.
Create new device
Open Android Studio and choose "Device Manager".
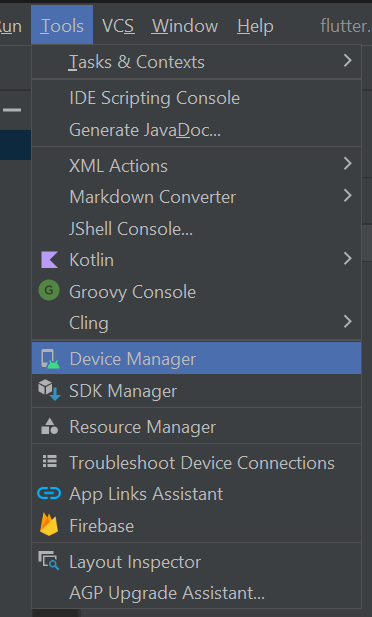
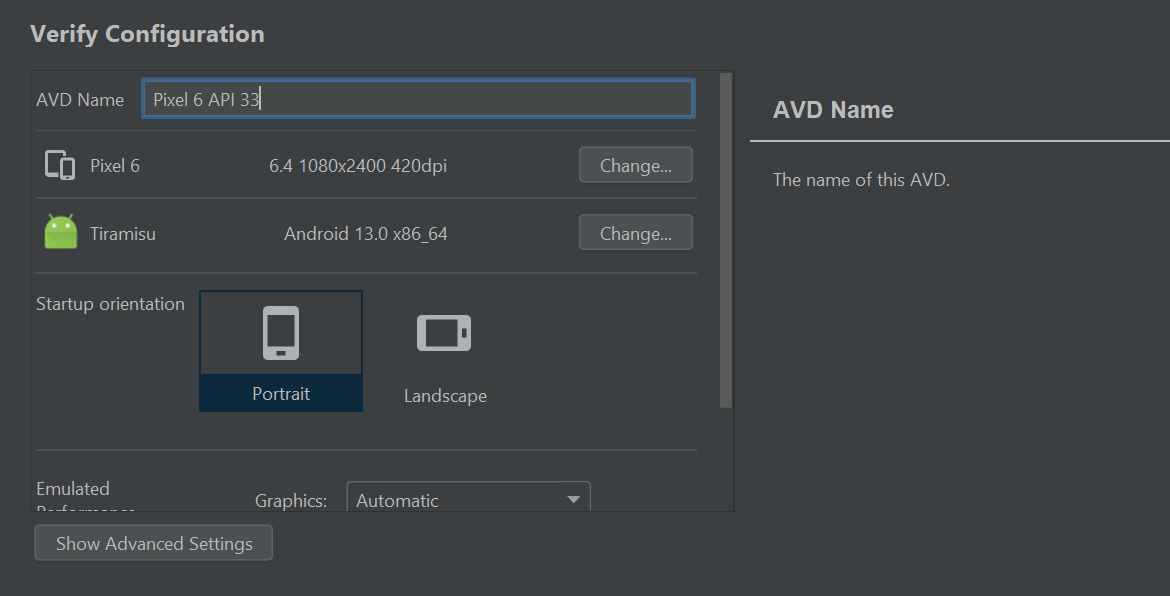
Then create a new device with the newest available Hardware and Android version. After giving a name to the device you can start this VM via the Device Manager and use it like a physical device.
Enable Android SDK Build-Tools
-
Open Android Studio
-
Tools Menu, SDK Manager
-
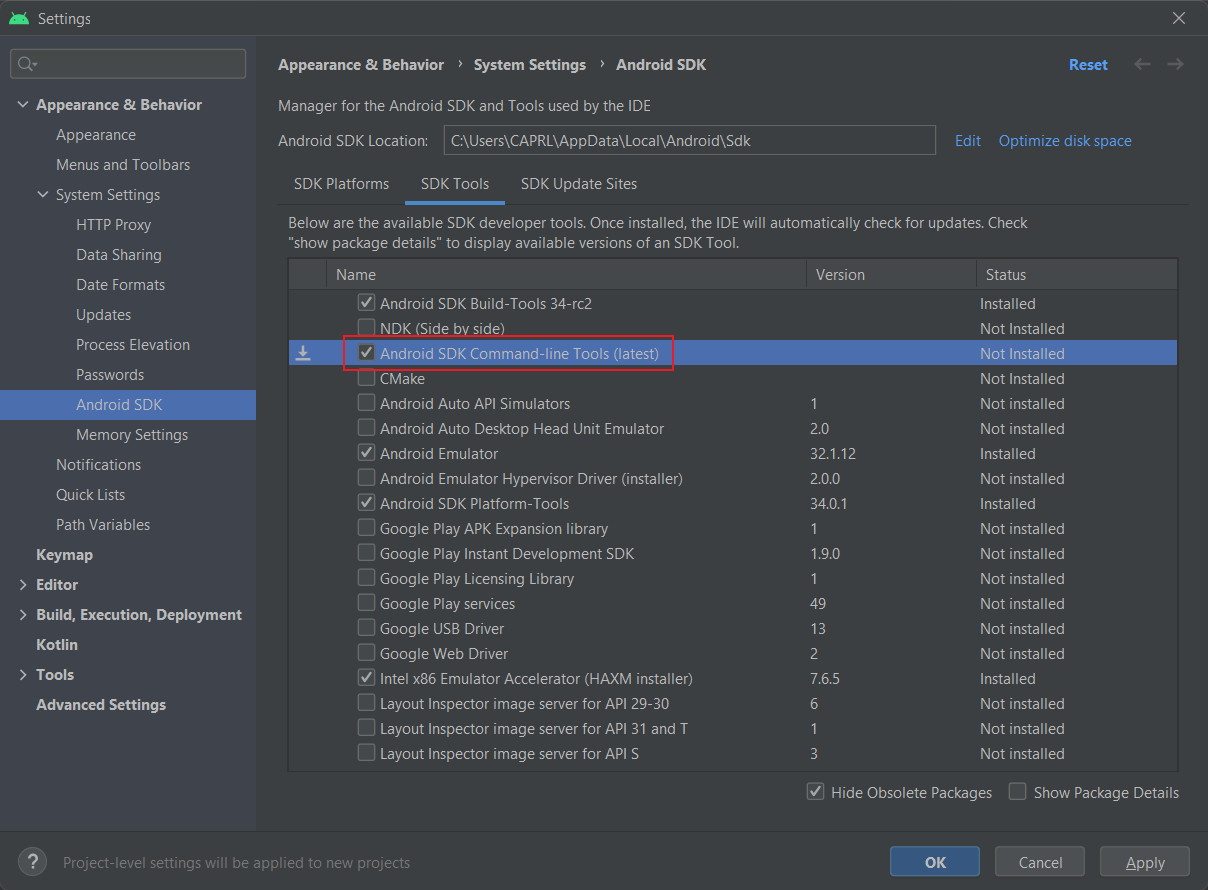
In the window that comes up there are inner panels, choose SDK Tools panel
-
Tick Android SDK Command-line Tools
-
Choose Apply button near the bottom of the window
Install Visual Studio
- Download the community edition from the official website: Visual Studio-Tools herunterladen: Kostenlose Installation für Windows, Mac, Linux (microsoft.com)
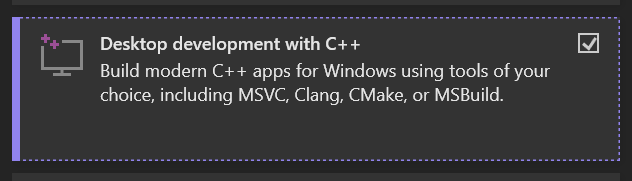
- Run the installation and select the following Workload:
Install Java
The Java Virtual Runtime can also be installed via winget. Just type this command and wait for the installation to finish.
winget install --id=Oracle.JDK.18 -eCheck Flutter setup
To check the flutter dependencies the following command can be used. If there are still some errors, you can search the internet for the messages.
flutter doctor -vCreate blank project
The basic structure of a flutter project can be created using the following command. The name of the project can also be specified here.
flutter create --org ch.lucanoahcaprez mynewflutterappRun app code
To run the app code you first have to select the previously created virtual Android device. Click "No Devices" in the bottom right corner of VS Code. There you can select the virtual Android device.
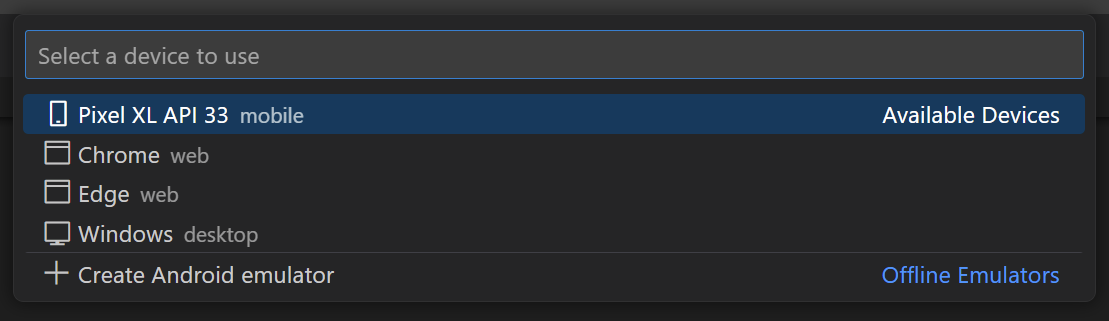
The only thing left to do now is to enter the execution command:
flutter run